
This will be your guide to start managing your store in SupplyIt. From managing your daily order templates and special customer requests to tracking waste and pulling reports, this guide covers all the essentials. This is a quick-start walkthrough for keeping store ops running smoothly.
1. Logging In & Account Setup
Accessing the Site: Log in to Supplyit at app.supplyit.com.
Credentials: Log in with the Username and Password designated by your account.
Updating Passwords: Passwords may be updated after your first login by selecting your Username in the upper right-hand corner > Select Profile > Update Password > Save changes.
User Management: Account Users and Account Administrators can reset passwords and add users for staff with lesser permissions.
2. Navigating the Home Page
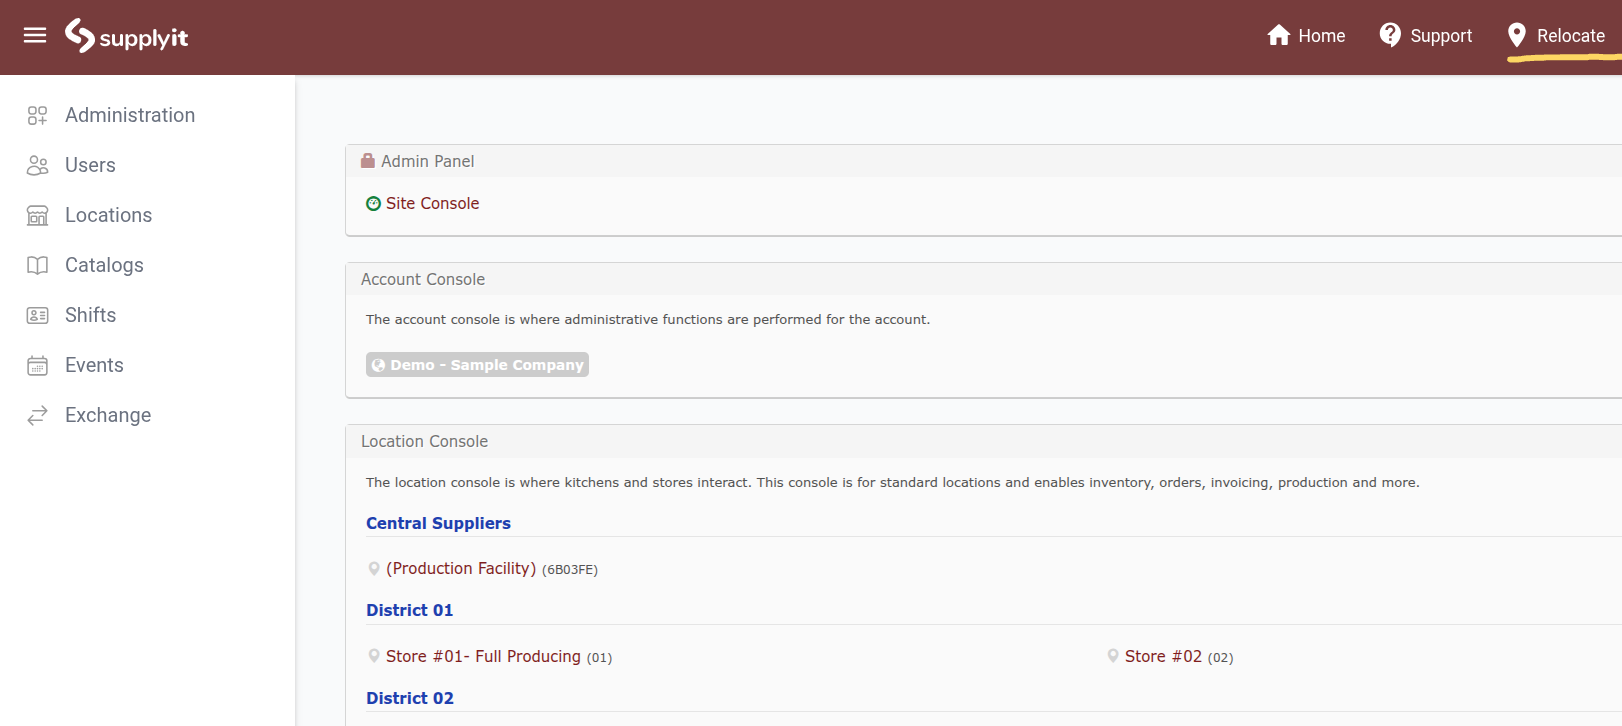
Messages: Select Home at any time to return to the Home screen. View Supplyit messages, cutoff times, credit request info, and contact details.
Support: Access support options by selecting Support:
- Submit a ticket
- Call 508-686-8090 or email help@supplyit.com
- Support Hours: Available 8:00 AM – 6:00 PM ET
Relocate: Used by users with multiple stores to switch locations.
3. Understanding Workflows
*Note: Select the down-arrow caret on each workflow for detailed instructions.
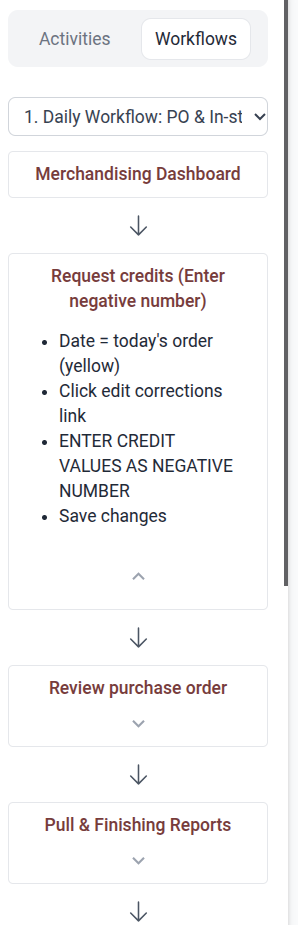
Workflow #1: Daily Workflow – Purchase Order (PO) & In-Store
- Merchandising Dashboard
- Request Credits
- Review Purchase Order
- Pull & Finishing Reports
- Production Workspace
- Waste
- View Weekly Invoice
Workflow #2: Order Admin
1. Edit Order Template
- Purpose: Create, edit, and set your default order templates so you don't have to adjust orders daily.
- Order Types:
- Purchase Order: Orders coming from the bakery.
- Work Order: Anything baked in-store.
- Order Generation: Orders generate a specific number of days in advance (typically 3 days).
2. Managing Your Product List
- Removing Products: Any products not being purchased from the kitchen should be removed and save changes.
- Adding Products: Click +Add to include items (if the kitchen has marked the product as supplied, it will be available) and save changes.
3. Setting Up Product Details & Rules
- View items arranged by product categories, unit type (e.g., basket for munchkins), and days of the week.
- Start & End Dates: Set product availability dates.
*Note: Do not add end dates unless it is an LTO (Limited Time Offer); the kitchen will handle these.
Supplier Rules:
- A Green Flag indicates a supplier rule is in place (e.g., CML requiring a minimum quantity of 12).
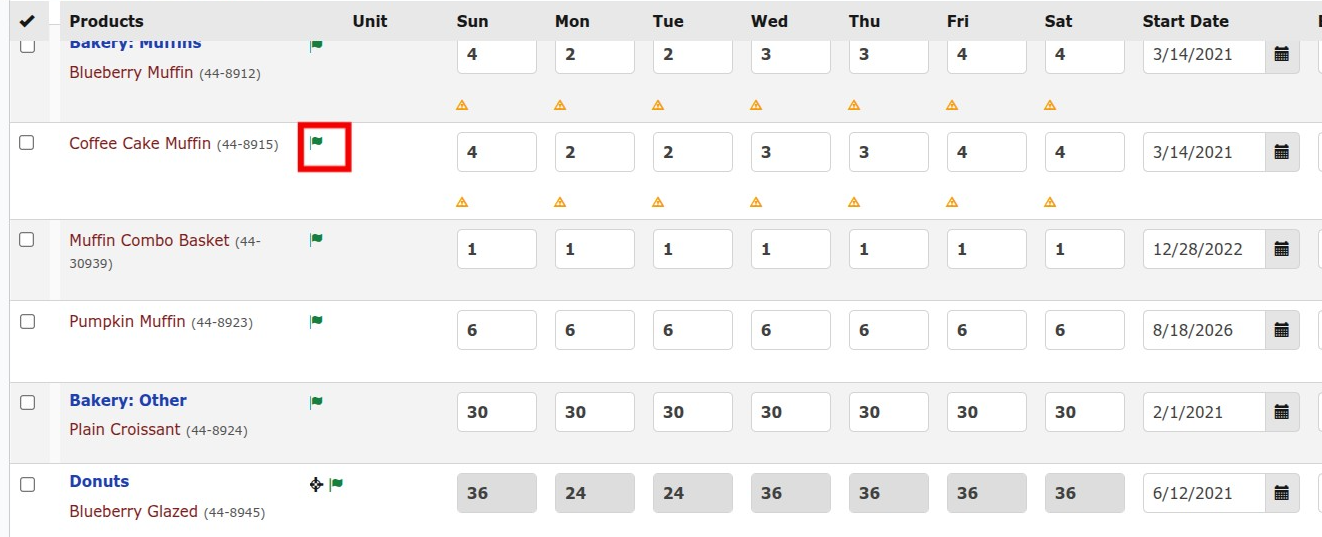
- Rules may override template quantities. Above the order template, select More > Details to view rules and see how minimum and rounding rules affect quantities.
4. Entering Quantities
- Enter your desired quantities for each item and save changes.
- Blank Quantity Box = Item is not on the order
- Zero Quantity = Item is on the order, which will prompt an update if checking Purchase Orders.
5. Configuring SMART Forecasting (If Applicable)
- A Black Star indicates SMART Forecasting is active.
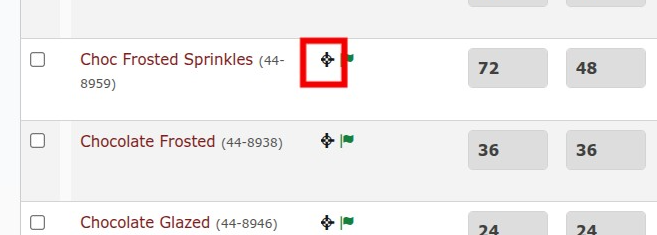
- SMART Forecasting requires 4 weeks of sales history before turning on.
- Do not turn on SMART for blank or zero quantities.
- When active, forecasting overrides template quantities using actual store sales.
- Waste Settings: Input forecasting, waste factor (%), and waste minimums. Always add minimums, not percentages, to increase mix accuracy.
*Note: To set up SMART Forecasting, please submit a ticket to the Help Desk.
6. Reviewing Changes
- Select More > Preview to see product counts by category. (This will display forecast numbers once SMART is enabled.)
- Select Events under More to review template change history.
7. Applying Changes to Open Orders
- Template updates do not automatically apply to open orders that have already generated. Make template updates before your account’s lead time window to avoid extra steps.
- If updating within the lead time window, select Apply to Open Orders to add, update, or delete items on active orders, then view orders to confirm.
8. Finalizing Updates
- Use the Clone feature if needed, and always save changes.
- Email Support to have your templates checked.
Adding Special Orders (Customer Requests)
Select Date: Choose the target date requested by the customer.
Add Products: Select +Add products, then click Add Special Order.
Enter Quantities: Input the required item amounts and click Save changes.
Add Notes: Enter the customer’s name, phone number, pickup time, and special instructions.
Important: If you plan to attach a photo, explicitly note it here so the kitchen staff knows to look for it.
Attach Files: If applicable, go to More > Attachments to upload image references.
Adding A Template Order (Future Events / Advance Planning)
Purpose: Set up template orders for future dates (e.g., upcoming events or advance manager coverage).
Setup: Change the order view to Template, select the target date, and click Generate.
Restrictions: Orders will not generate if:
The kitchen has already processed or closed orders for that date.
A template order has already been generated for that date.
Managing Percent Adjustments (Temporary Changes)
Purpose: Temporarily adjust order quantities without altering your default master template.
- Creating an Adjustment
Select the Contact (Production Facility), Start Date, and End Date.
Enter the Percent Change:
Positive number: Increases order amounts (e.g.,
+15%)Negative number: Decreases order amounts (e.g.,
-15%)
Select Products: Click +Add products for specific items, or leave blank to apply the adjustment to all products.
Click Save changes.
Handling Store Closures (Holidays, Emergency Closures)
Follow the standard Percent Adjustment process outlined above.
Set the Percent Change value to
-100%to clear all order quantities for those dates.
Updating Adjustments on Generated Orders
*If orders have already been generated, adjustments will not apply automatically.
To Apply Changes: Select the target order and click Rebuild Adjustment.
To Cancel Entirely: Delete the generated order if the store is closed.
Verify: Always review the final order to ensure positive vs. negative percentage values were applied correctly.